17강
POST 통신을 이용한 DB 데이터 저장 실습
DB SAVE
1.SEND POST DATA
2.Receive post data
3. save db
<h1 sytle="font-family: 'lobster', cursive;"> 롭스터라는게 없으면 커시브를 대신가져와라
<input type="text" name="hello_world_input">
데이터를 구분지어야할 구분자 NAME
helloworld input이라는 이름을가진것을 input에 담아 서버로 보낸다
model.py
text라는 이름을 가진 캐릭터필드 속성값에 헬로월드 인풋을 텍스트에 넣어준다
마지막으로 헬로월드를 세이브해준다. -> 디비에 헬로월드 객체를 저장한다.
리턴값에 output 을 내보내준다. 객체를 내보낸다
views.py
from django.http import HttpResponse
from django.shortcuts import render
# Create your views here.
#view 단의 완성
from accountapp.models import HelloWorld
def hello_world(request):
if request.method == "POST":
temp = request.POST.get("hello_world_input")
new_hello_world = HelloWorld()
new_hello_world.text = temp
new_hello_world.save()
return render(request, 'accountapp/hello_world.html',
context={'new_hello_world_output': new_hello_world})
else:
return render(request, 'accountapp/hello_world.html',
context={'text': 'GET METHOD !!!!'})
#view는 만들었고 이제 route해줘야한다.
#특정 주소를 만들어 주는 작업이 필요하다.
helloworld.html에서
if문을 사용해 헬로월드 아웃풋을 존재하는지 확잉ㄴ한다ㅏ.
그리고 엔드이프문으로 이프문을 끝내준다.
아웃풋이 있다면 안에있는 html 태그들을 생성해라는 뜻이다.
{% extends 'base.html' %}
{% block content %}
<div style="border-radius: 1rem; margin: 2rem; text-align: center">
<h1 sytle="font-family: 'lobster', cursive;">
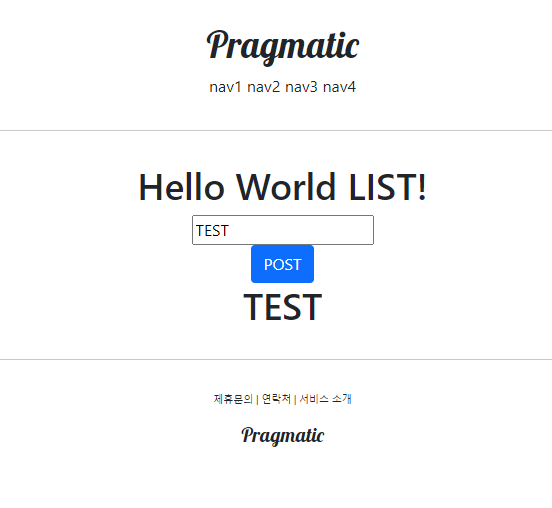
Hello World LIST!
</h1>
<form action="/account/hello_world/" method="post">
{% csrf_token %}
<div>
<input type="text" name="hello_world_input">
</div>
<div style="font-size: 3rem;">
<input type="submit" class="btn btn-primary" value="POST">
</div>
</form>
{% if hello_world_output %}
<h1>
{{ hello_world_output.text }}
</h1>
{% endif %}
</div>
{% endblock %}
이제 인풋을 주면 sqlite3에 저장이 되고있다는 것이 중요하다.
'Computer Science > Django_pinterest' 카테고리의 다른 글
| 210819 장고 19강 디버깅 (0) | 2021.08.19 |
|---|---|
| 210819 18강 DB 정보 접근 및 장고 템플릿 내 for loop (0) | 2021.08.19 |
| 210818 장고 16강 GET, POST 프로토콜 실습 (0) | 2021.08.19 |
| 20210818 장고 핀터레스트 14강Model, DB 연동,~15강 서버와 통신하는 HTTP 프로토콜 메서드 중에서도 GET, POST (0) | 2021.08.18 |
| 20210817 장고 핀터레스트 12강 ~13강 (0) | 2021.08.18 |
